Masala corn fritters is a super easy and quick to make perfect snack to serve your guests when you have a time crunch . It is made by frying the corn kernels and then flavouring them with spice mixes.
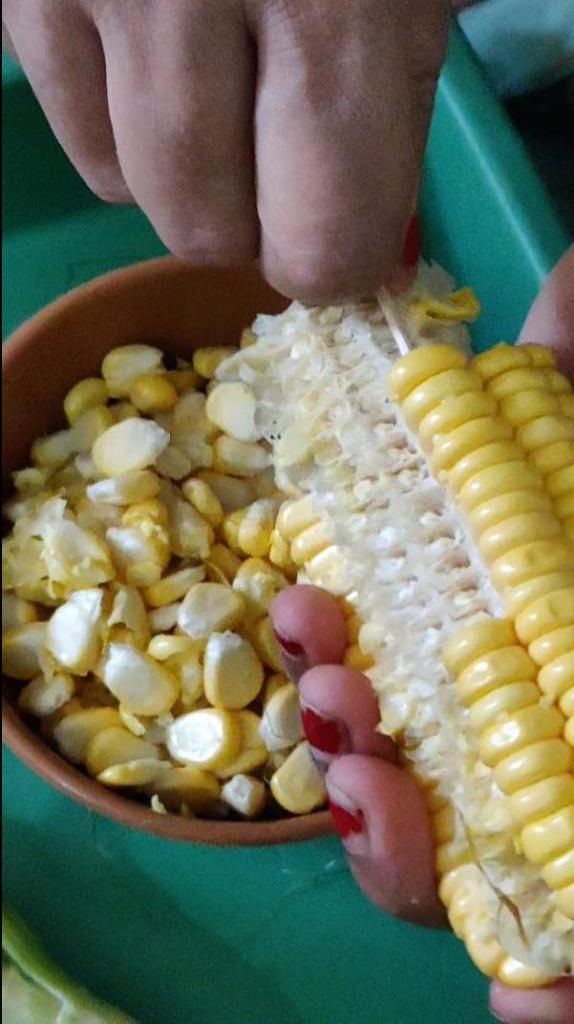
, Lets get started and checkout the recipe. Cut the corn cobs a little less than a toothpicks length. I have not cut the cobs here though. Now we got to release the kennels from the cob. In order to release the kernels from the cobs, insert a toothpick the way I show you onto the corn cob and apply a little pressure sideways so that the corn kernels are released from the cob along with the tooth pick. Now lets move on to cooking the kennels.
Removing corn from cob
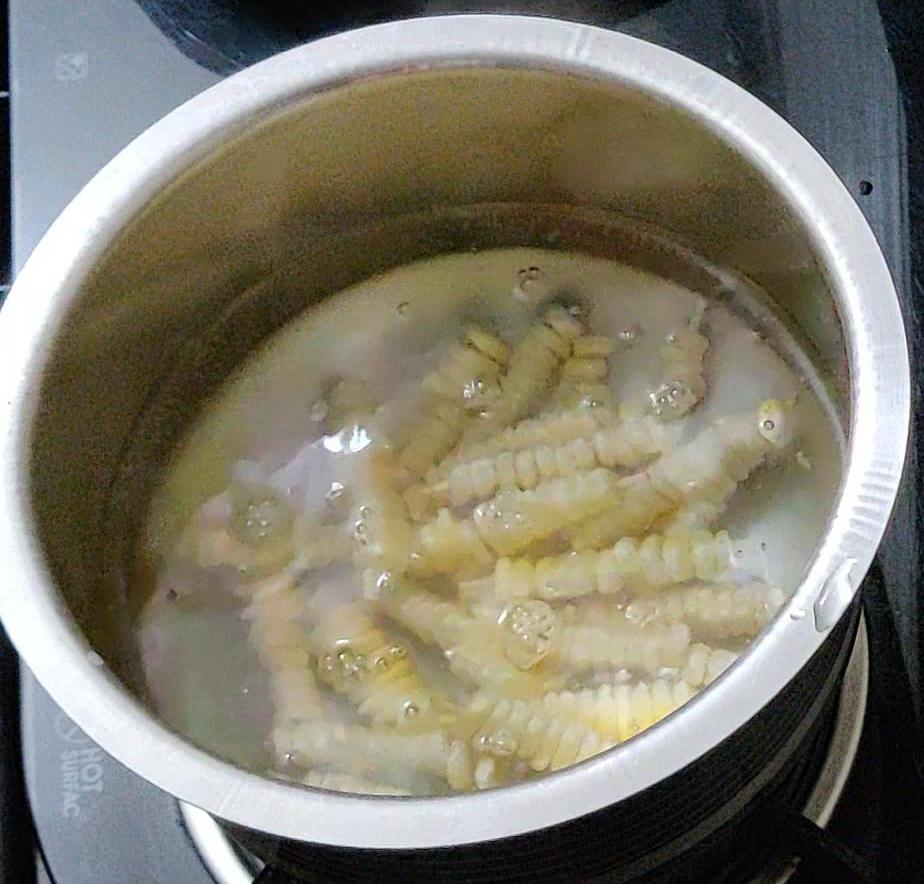
Boil water in a large pan. Pop the corn kernels on to the water and boil them till they are softened which should take not more than two minutes. We ought to boil the corn kernels before deep frying them in oil to ensure that they do not explode while frying or else make use of a splatter screen in order to avoid spillage. Inside each kernel of corn is a tiny droplet of water surrounded by the hull. As the kennels get heated, the water turns into steam, which builds pressure inside the kernel which later explodes to release the pressure.Once the corn becomes soft, drain them using a colander on to a plate.
Boiling of corn
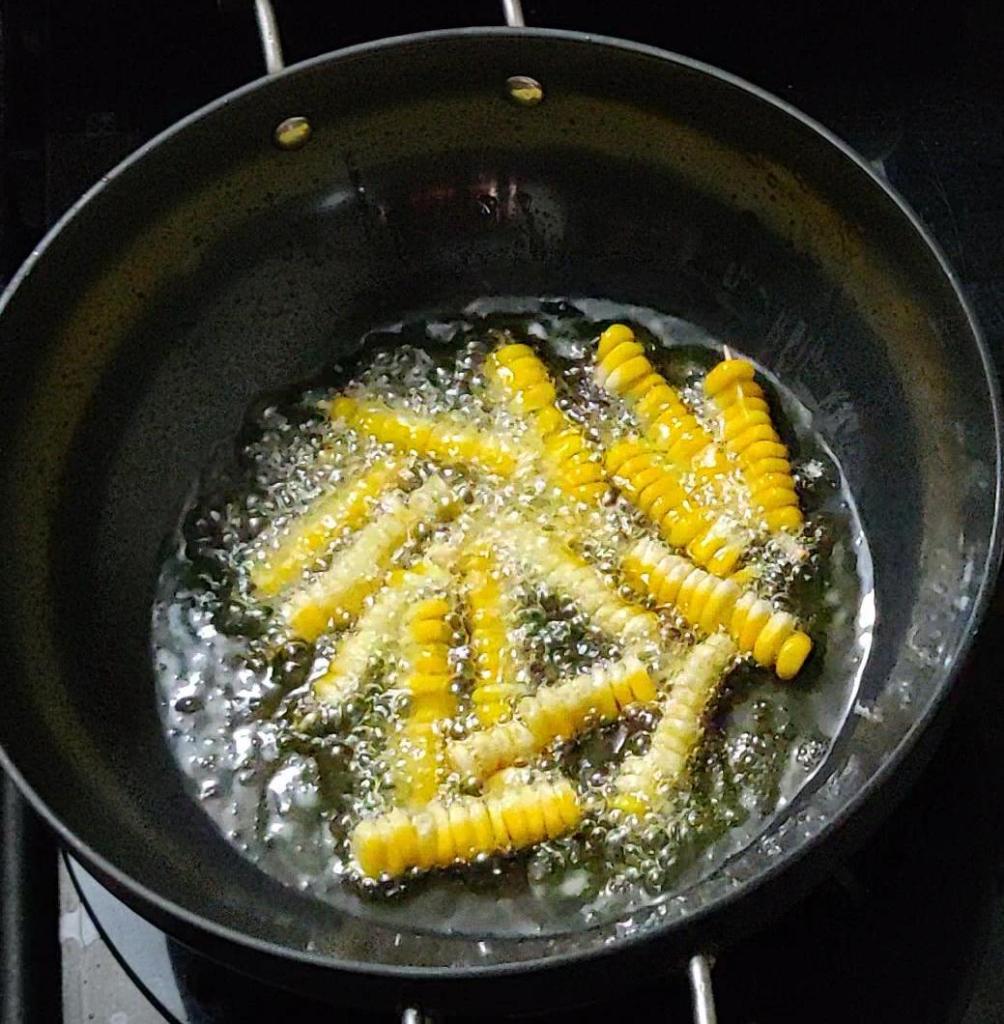
Heat oil in a deep pan for frying. When the oil turns hot, pop in the boiled kennels. Do not overcrowd the oil. Fry them till slightly golden and then drain on to an absorbent paper.
Frying of corn
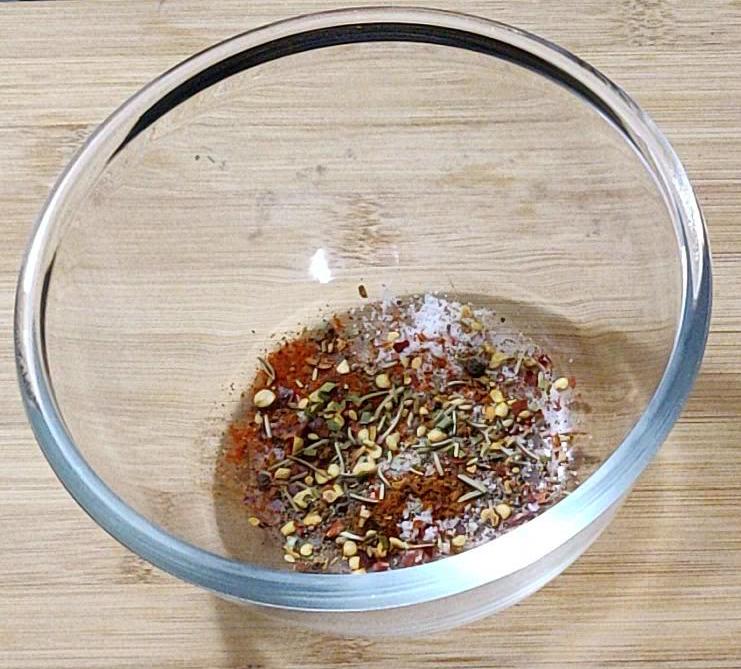
Now we got to prepare the spice mix..For that, take a bowl. Add in roasted and powdered cumin, salt, pepper powder, cajun spice powder, chilly flakes ,chat masala, dried mixed herbs and toss them well until the spices are well incorporated with the fried corn. Masala corn fritters is ready.
spice mix for sprinkling over corn
Along with the crispiness, what elevates Crispy Corn Recipe is its subtle taste which it derives from black pepper powder and salt. This is an excellent starter which you can serve at parties which can be made in an jiffy. So, guys, do try out this easy and simple to make snack and let me know how it turned out to be.
Hello and welcome to our blog ‘The belly over mind’! Me, Baby Menon. I’m a home maker, a foodie, a mother of two gorgeous daughters who also love cooking, a blogger and a passionate cook. Belly over mind is a result of my journey of tasting, testing, visiting blogs and YouTube channels . My experiments in the kitchen would be showcased here. I would be sharing with you all recipes from around the globe but my main focus would be on Indian vegetarian and non vegetarian dishes. You will find good food made with real ingredients, ranging from colorful healthy dishes to decadent desserts and everything in between.Every thing right from bakes, day to day cooking, deserts, party pleasers, desserts etc would find its way into my blog. Having lived in various parts of ‘The Incredible India’ with major part being in Maharashtra, I have experimented a lot on various cuisines and would be incorporating them in my blog. Do give me feedback of the recipe and try letting me know in a few words how you and your family liked it, whenever you make it! I would love hear from you. Say Hello on my social media accounts Viz: Facebook page, Pinterest, Instagram and twitter. If you like the way I work, then do hit the follow button and subscribe to the blog to get notifications on the new posts and share the blog with your loved ones. Happy Cooking! Thanks for stopping by!!! Happy Exploring!!
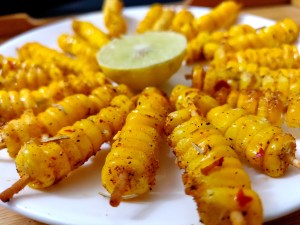
Ginger Wine is a must try cocktail recipe. It has that unmistakable punch of ginger which gives a unique flavor to the wine.It is mildly hot and sweet wine which can be made in just 3 days!!!!
It could be served as a drink or as a mocktail with dash of lemon and sprite or orange juice or even with chilled lemon tea.
The after taste of this wine is fairly warming and this sensation contributes a certain glow to the palate.
Ingredients:
Sugar 750gm
2 dry Red Chilli
1/2 tsp Yeast
2tsp citric acid/Zest and juice of 4 lemons
Total time : 3 days
Course : Drinks
Cuisine : Indian
Prepaation time : 10 minutes
Cooking time : 10 minutes
Total time : 20 minutes
Method
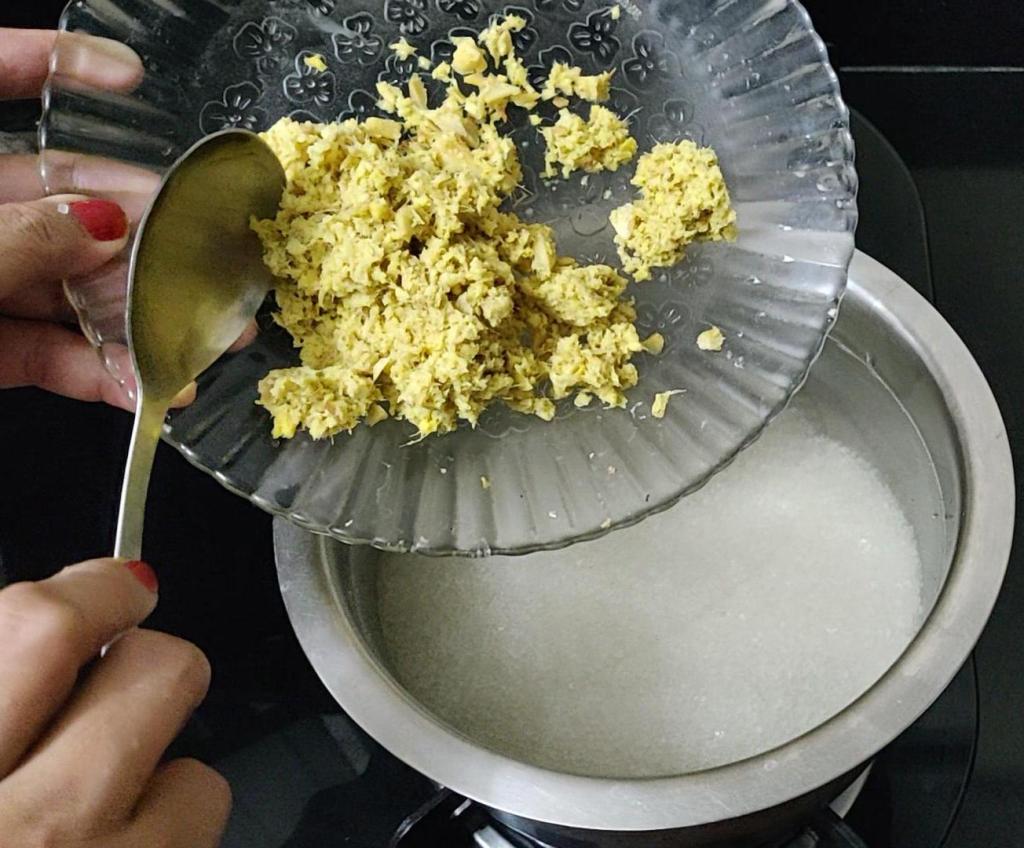
Wash, peel the skin and chop ginger finely or you can also crush them. Boil water. When it boils add the chopped and crushed ginger along with sugar .
crushed ginger
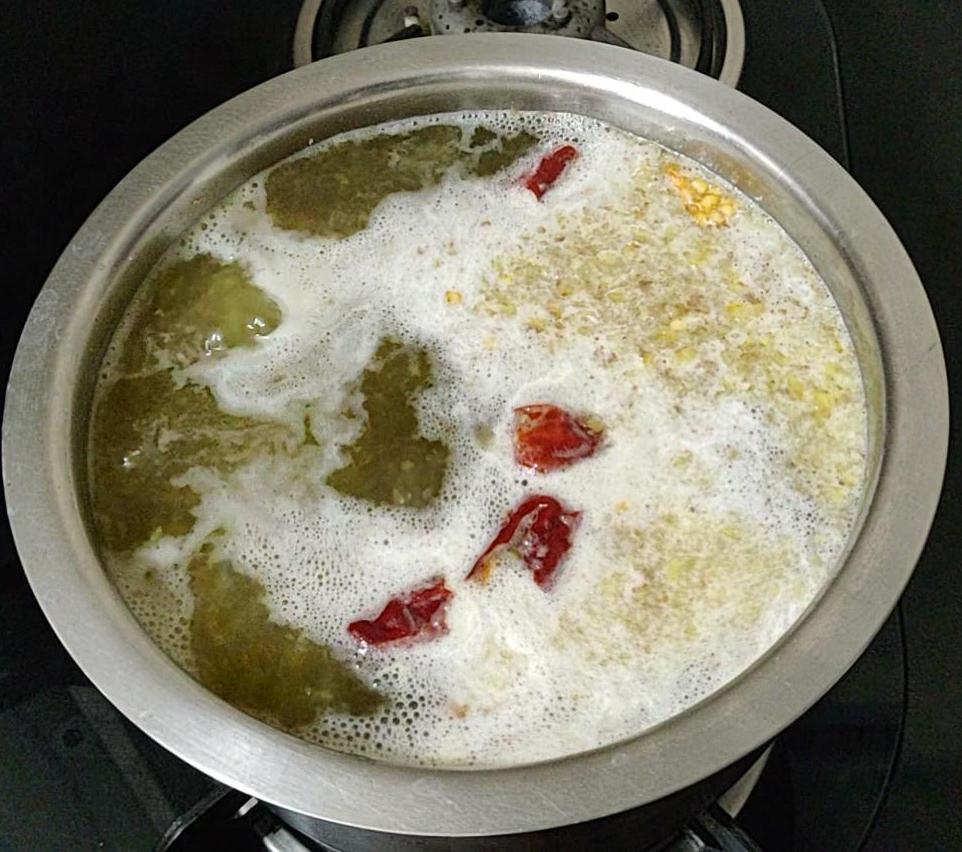
When the sugar dissolves, add in broken red chillies and let it roll boil for five minutes. Then switch off the heat. Let the mix come to room temperature..
Red chillies, ginger, sugar and water
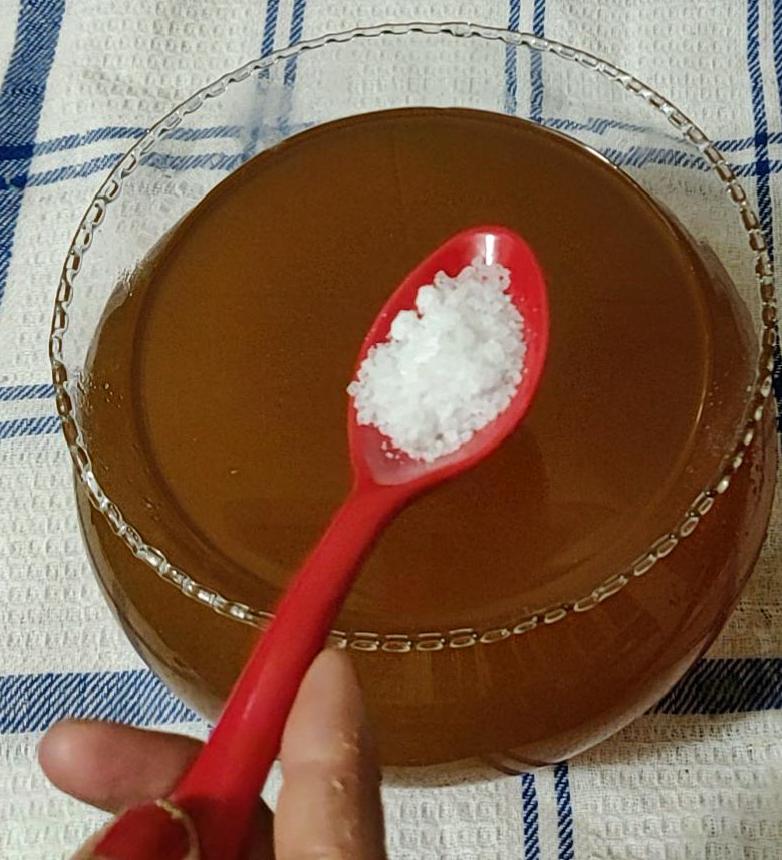
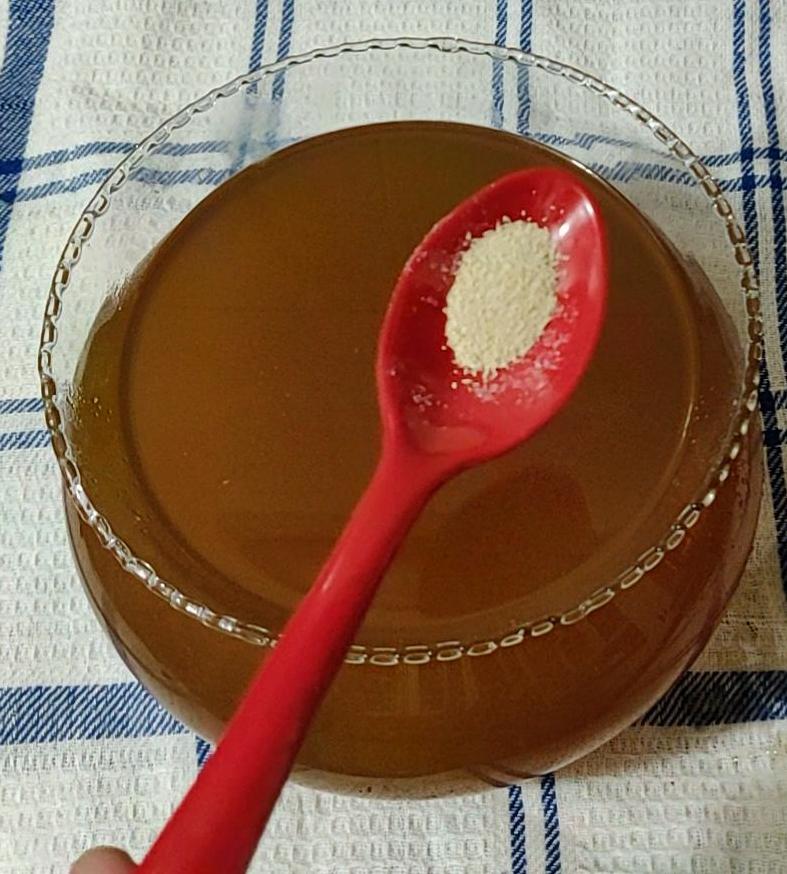
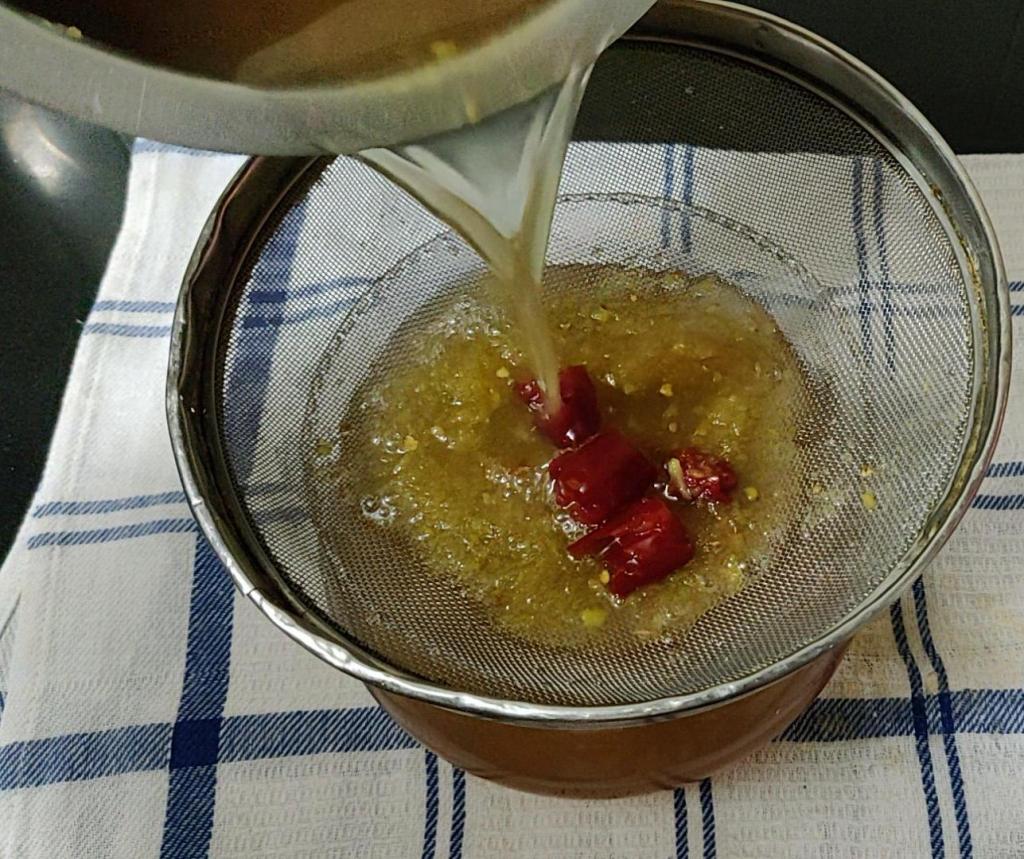
Now, Strain the mixture and add the yeast and citric acid.
citric acid
addition of yeast
straining of ginger wine mixture
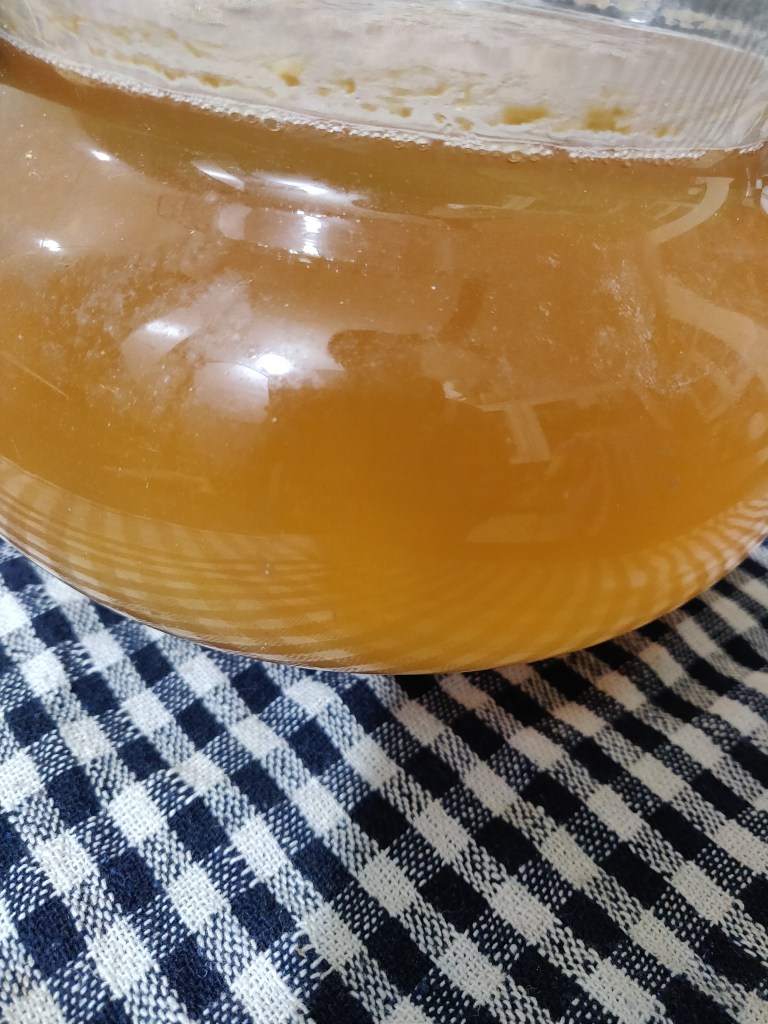
wine is ready!
Ginger wine
Stir well to ensure that the citric acid crystals are dissolved.
Transfer it to an air tight container and keep covered for 3 days for fermenting. After three days, strain it.
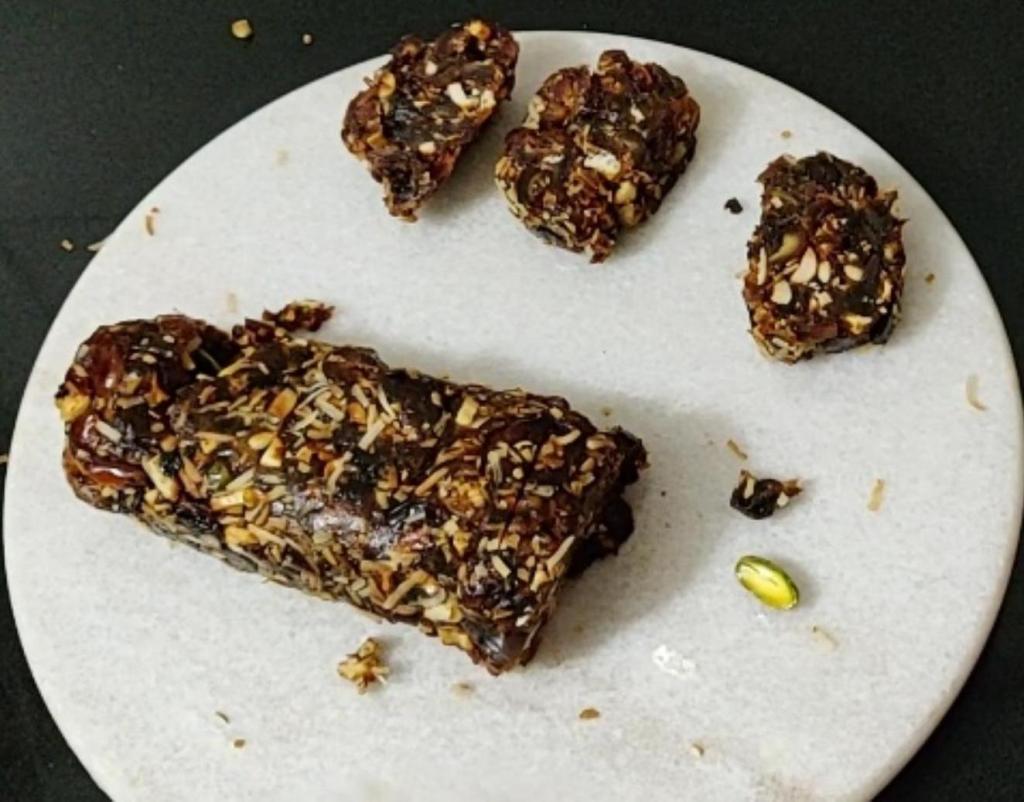
Try these scrumptious Sweet, crunchy, chewy, guilt free and protein rich date rolls, made with black dates, poppy seeds along with the goodness of almonds, cashews and pistachios. It is a quick, easy and simple recipe made of dates topped with crunchy dry fruits. Also known as dates and dry fruits roll it is one of the best and healthier option for a dessert.
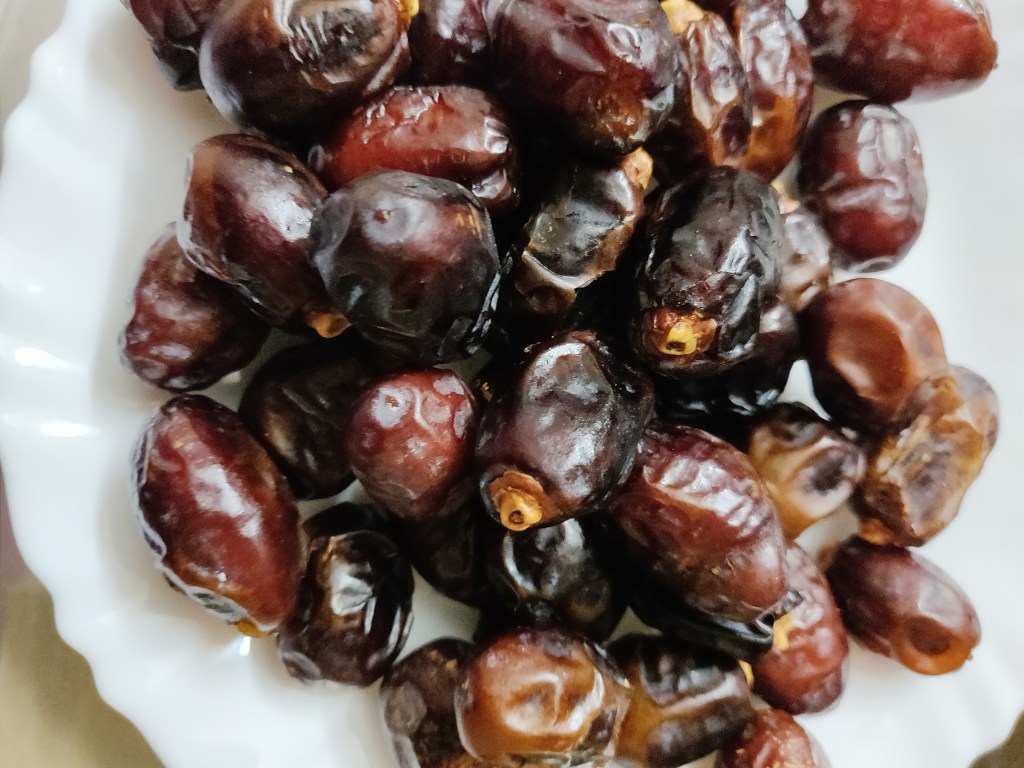
To begin with, take 500 gms of seedless dates . wash the dates under running water and chop them into small pieces or Pulse the dates in a blender . If you have the seeded variety remove the pits and discard them. Next ,. Dry roast the desicated coconut and poppy seeds seperately for a couple of minutes or just till its devoid of rawness. Transfer them onto a dish.
dates
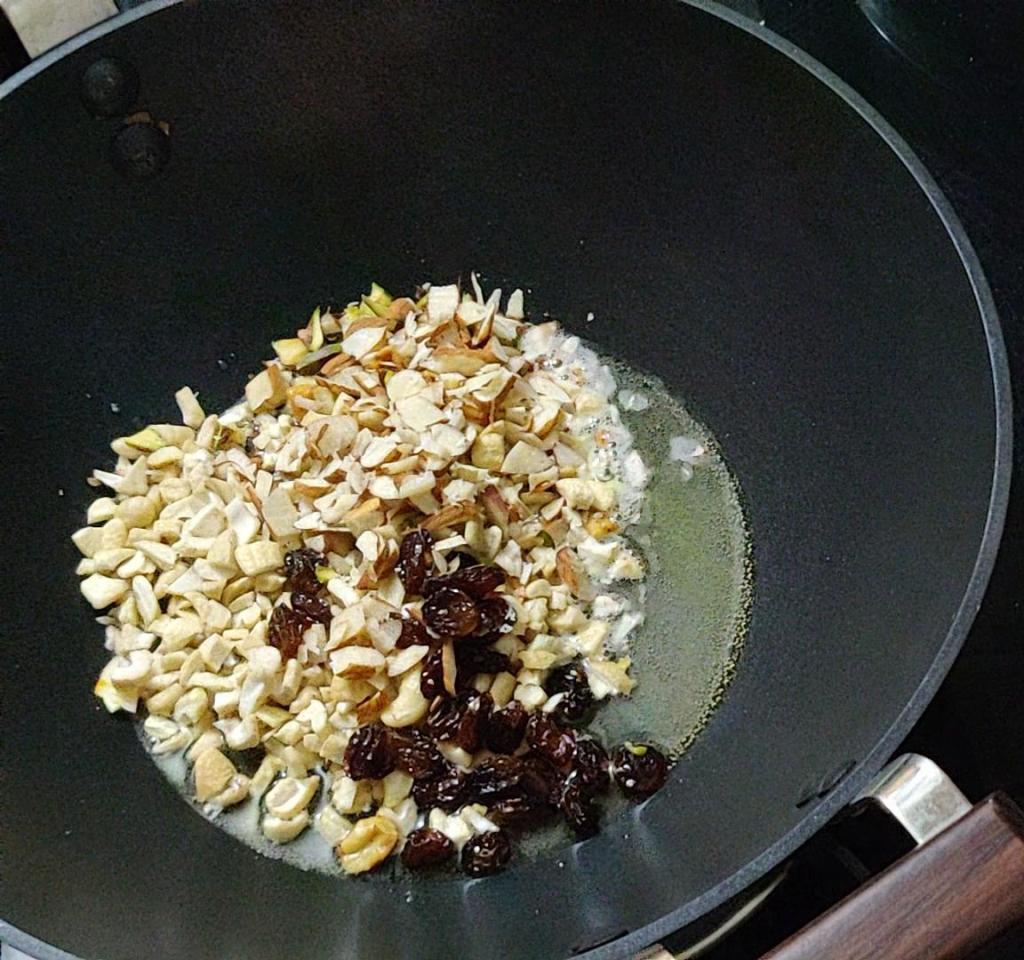
Heat a pan and pour in some clarified butter/ghee and roast the chopped nuts over medium heat until fragrant. Roasting the nuts and dessicated coconuts in clarified butter gives them a nutty flavour and the perfect crunch.
mixed nuts being roasted
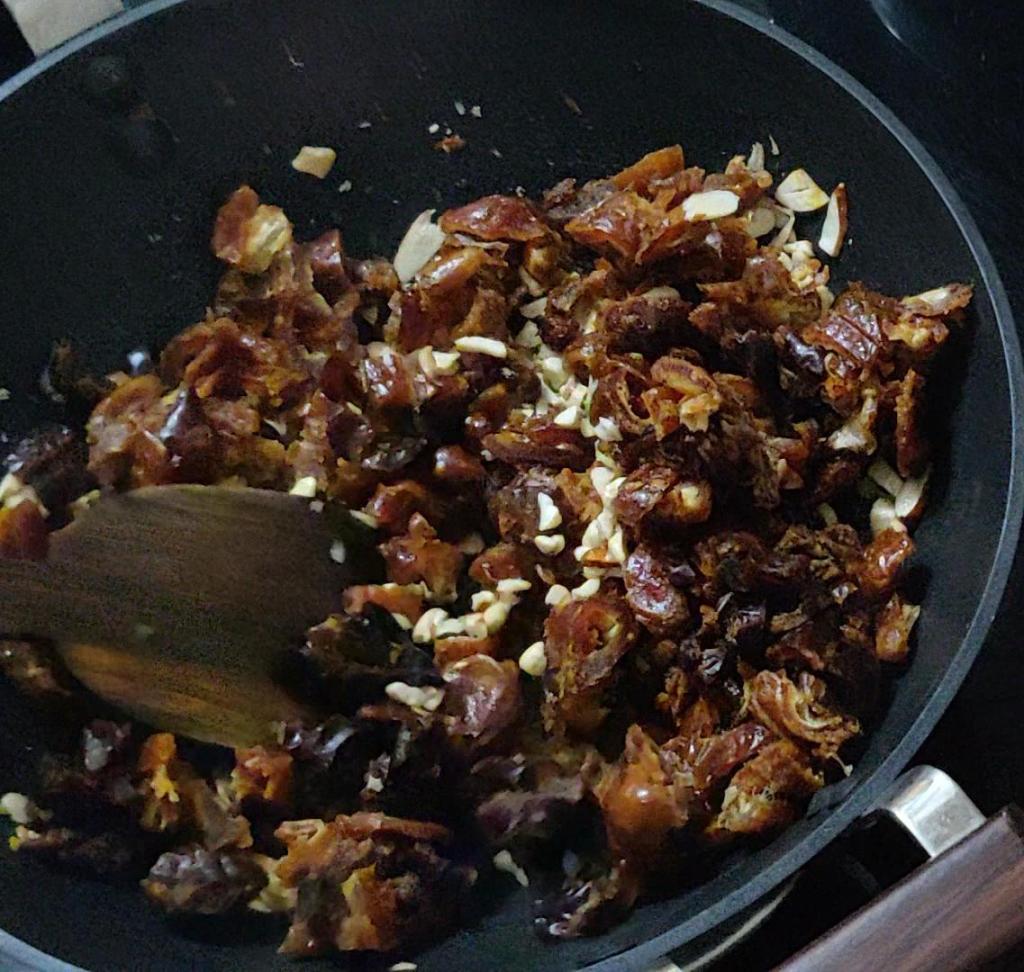
Add in the dates and mix well till they get uniformly mixed. The dates on cooking becomes soft and pliable.Once it reaches this stage, add in the cardamom powder, mix well and switch off the heat. Let the mixture cool a bit so that it is easy to handle.Do not let it cool completely or else it will regain its toughness and it would be difficult for you to roll..
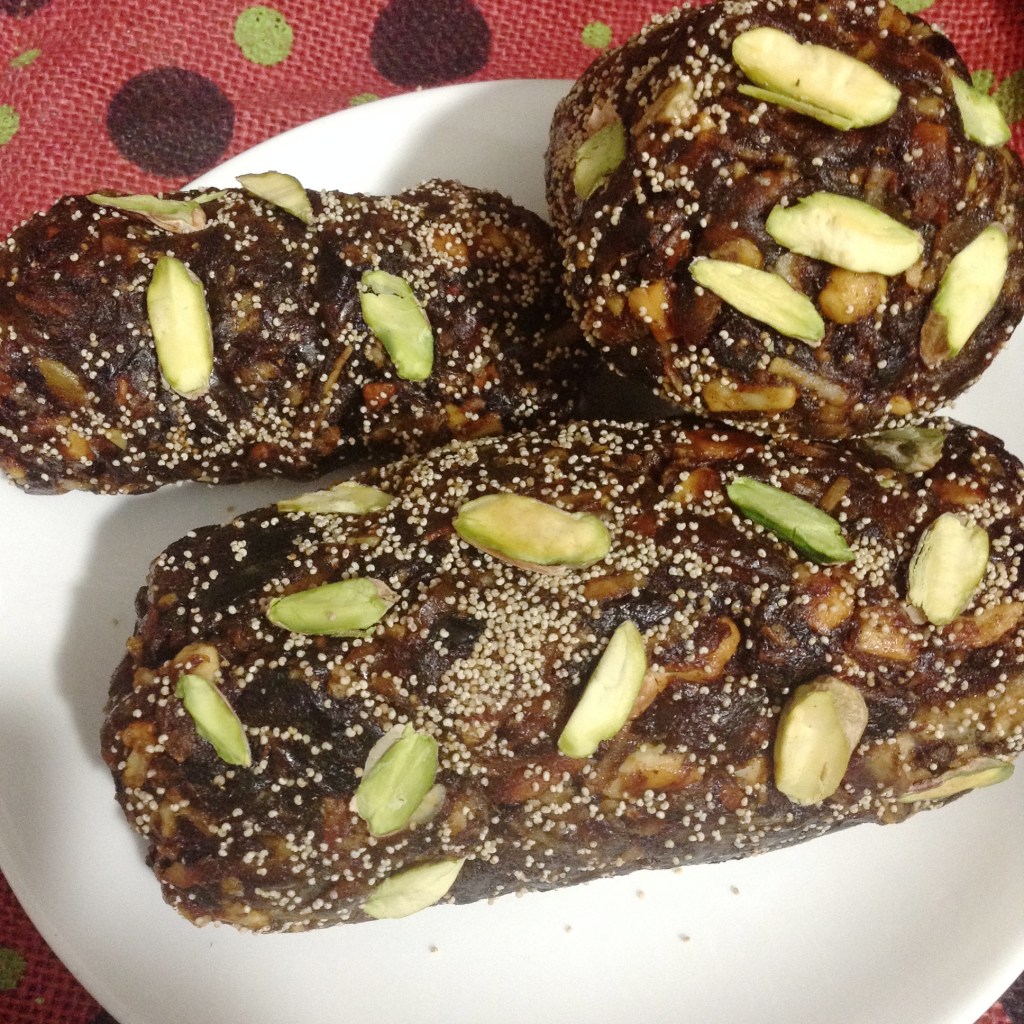
Now, Take the mixure on a counter top. You can either shape them into barfis or roll them into ladoos. Roll the dates and nuts mixture into a log after greasing your palms with clarified butter.
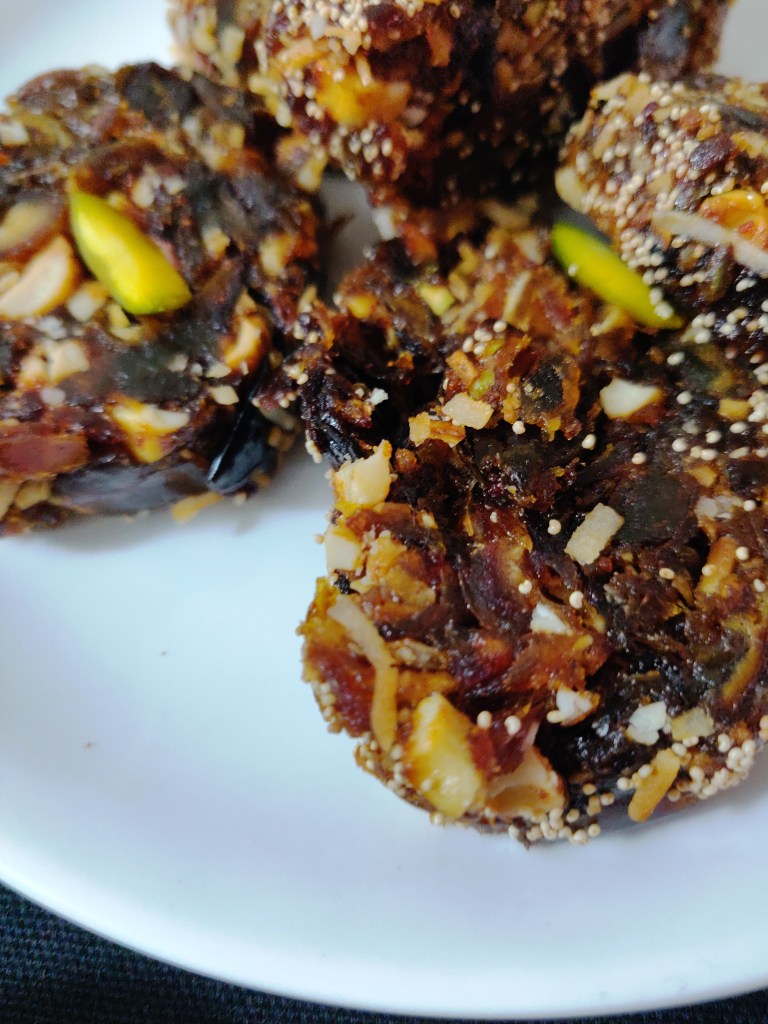
Now lets move on to the garnishing part..Spread some poppy seeds and pistachios on the counter top and roll the log over the poppy seeds so that they get coated with the pitachios and poppy seeds all over. Slice the rolls into disks and serve.
Date rolls
Give your taste buds a sweet treat with this lip-smacking dessert and overwhelm your guests with the rich flavors this dish would offer. Go ahead and give these sweet rolls a shot that they deserve. Relish and savor dates in a fantastic way and get high on proteins in an instant.
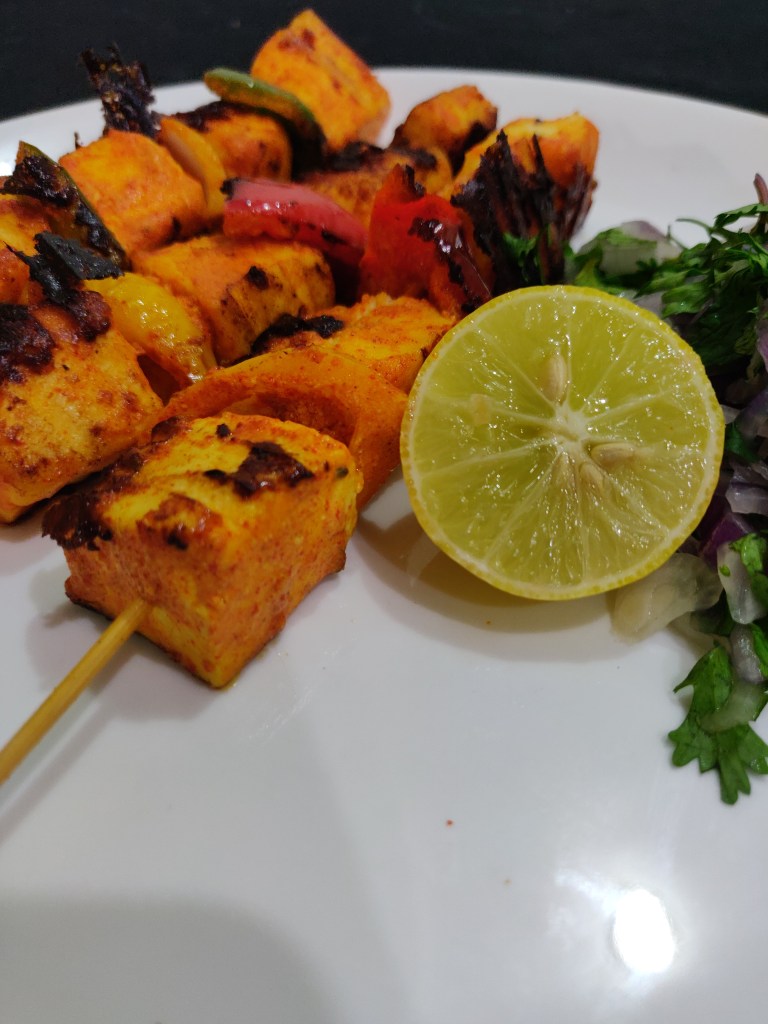
Paneer tikka is a mouth-watering vegetarian absolute delightful street food wherein chunks of paneer are marinated in curd along with flavourful spices.
Indian dinner parties are incomplete without tikkas . It is a popular dish that is widely available in India and countries with an Indian diaspora. The word tikka means pieces of meat or vegetables marinated and then baked in a tandoor oven on a big iron skewer or on a grill pan to perfection.
Paneer tikka is one such Indian dish made from chunks of paneer marinated in spices and grilled in a tandoor. It is a vegetarian alternative to chicken tikka and other meat dishes. There are basically 2 types of paneer tikkas. The dry version and the paneer tikka masala wherein the dry tikka is simmered in a creamy gravy.Today I am going to show you how to make the dry paneer tikka at home in a pan. This is such a super easy and versatile recipe. you can easily substitute the paneer with chicken.
Ingredients :
cottage cheese/paneer : 250 gms
Bell pepper/capsicum/shimla mirch :Red, yellow and green coloured one each
Indian dinner parties are incomplete without tikkas . It is a popular dish that is widely available in India and countries with an Indian diaspora. The word tikka means pieces of meat or vegetables marinated and then baked in a tandoor oven on a big iron skewer or on a grill pan to perfection.
Paneer tikka is one such Indian dish made from chunks of paneer marinated in spices and grilled in a tandoor. It is a vegetarian alternative to chicken tikka and other meat dishes. There are basically 2 types of paneer tikkas. The dry version and the paneer tikka masala wherein the dry tikka is simmered in a creamy gravy.Today I am going to show you how to make the dry paneer tikka at home in a pan. This is such a super easy and versatile recipe. you can easily substitute the paneer with chicken.
Preparation :
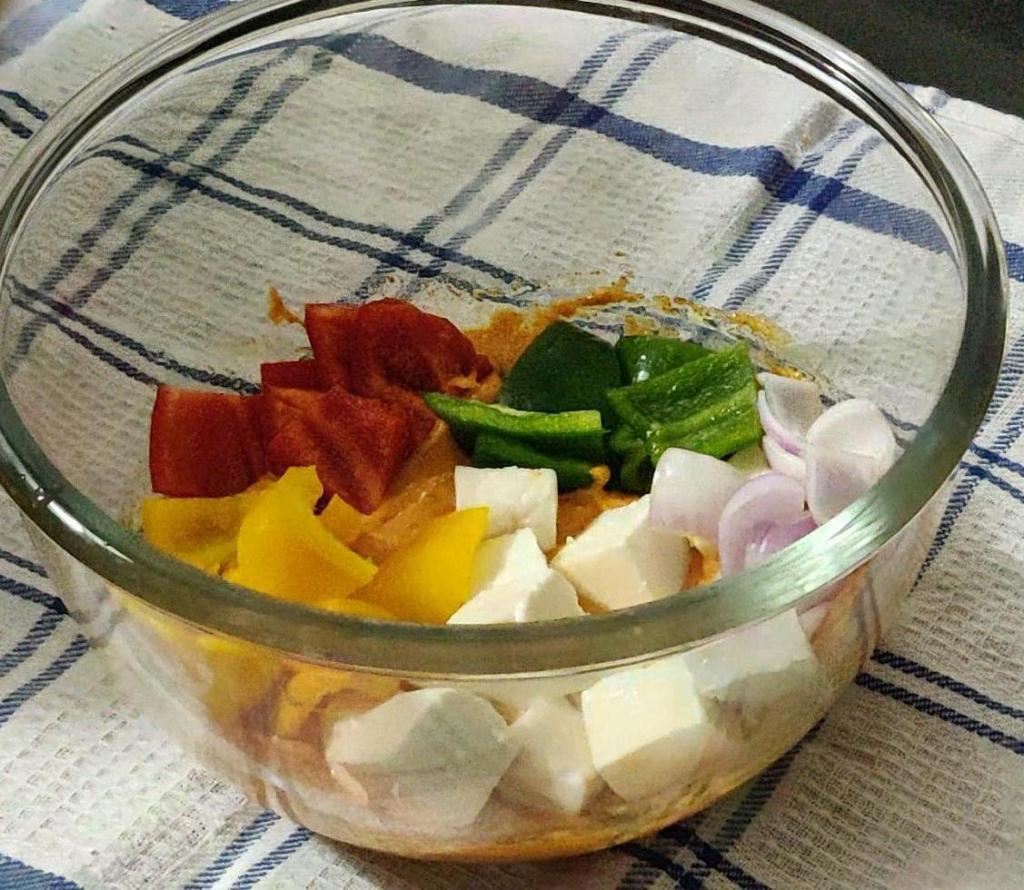
We have taken paneer and capsicums of red, yellow and green color and onions. Cube the paneer and vegetables.The size of cubes are entirely your choice.
marination mixture
2. As for paneer- Paneer is literally a two ingredient cheese. You just need some full fat milk and a souring agent like lemon juice or vinegar to curdle it.You got to boil milk, and once it boils, add vinegar or lemon juice as the case may be and stir. The milk curdles and the whey seperates. Once it curdles, strain it over a muslin cloth till all the whey gets drained out.But, it is anyday better to make use of store-bought paneer for this recipe rather than the home made ones, because it is sturdier and won’t crumble easily..
Marinade :
There is no particular order to be followed while adding the spices and pastes.
If the curds you are using are not thick enough, hang them in a cheese cloth for half an hour or so to remove the whey and then use.
To the Thick Curd/hung curd add
coriander-cumin powder /dhania-jeera powder
Salt to taste
kashmiri red chili powder,
you can also add red chilly powder in the recipe. potency of chili powder and spice level can differ from house to house, so adjust it accordingly. If you prefer your tikkas subtle, stick to just kashmiri chilly powder.
Roasted chickpeas flour /besan. Besan, binds the spice coating to the paneer and vegetables. You have to add it especially if you are using a pan/grill pan or else the spice coating will go runny
carom seeds/ajwain
turmeric powder
ginger garlic paste
juice of half a lemon/amchur powder
Mustard oil.. You can also make use of regular vegetable oil but then, mustard oil adds a distinct flavor. It elevates the flavor of the dish to a totally different level.
You can also add chaat masala or garam masala, fennel /saunf powder, black pepper powder and kasuri methi.
Now, lets go to the marination.
Throw in paneer and the vegetables in the marinade and mix gently till the cubes are coated well. Cover and set aside for at least half an hour or up to two hours.
veggies ready for marination
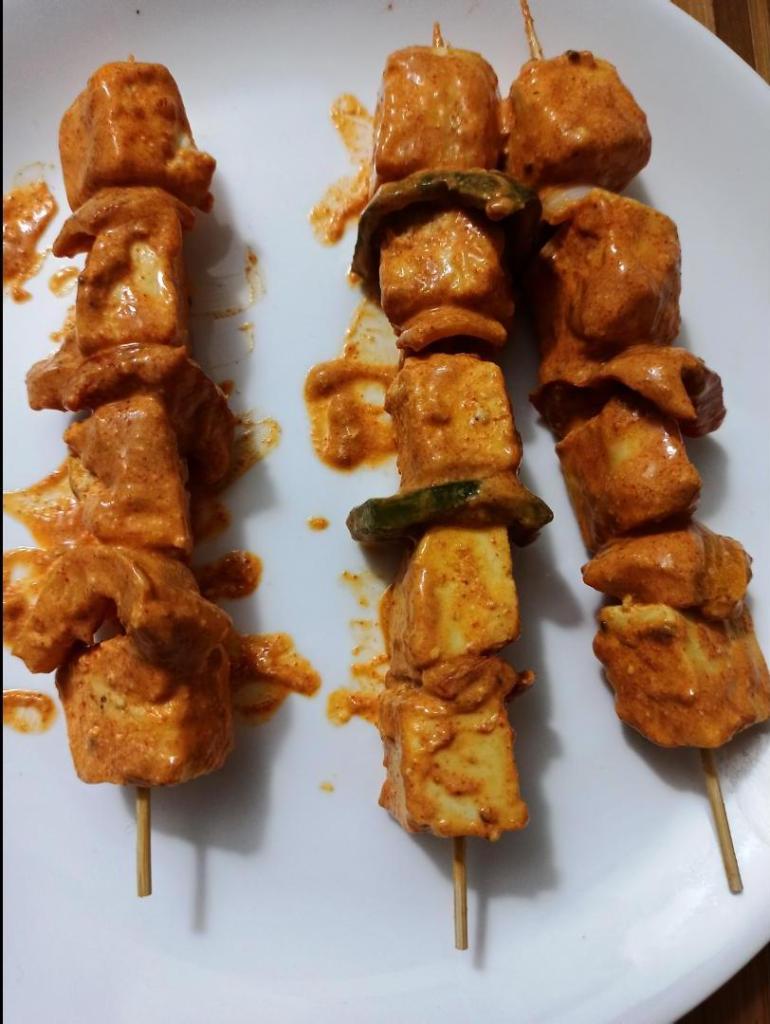
Once they are well marinated, skewer the paneer cubes alternating with the veggies. Please note that the first and the last skewered chunk shld be of paneer. This should make about 3-4 skewers.
mixing of paneer and veggies
Lets move on to the grilling part..
when you prepare paneer tikka on stove top, either make use of a non stick or ceramic pan or use a well seasoned tawa or griddle. Even the tawas on which you make your dosas work well.
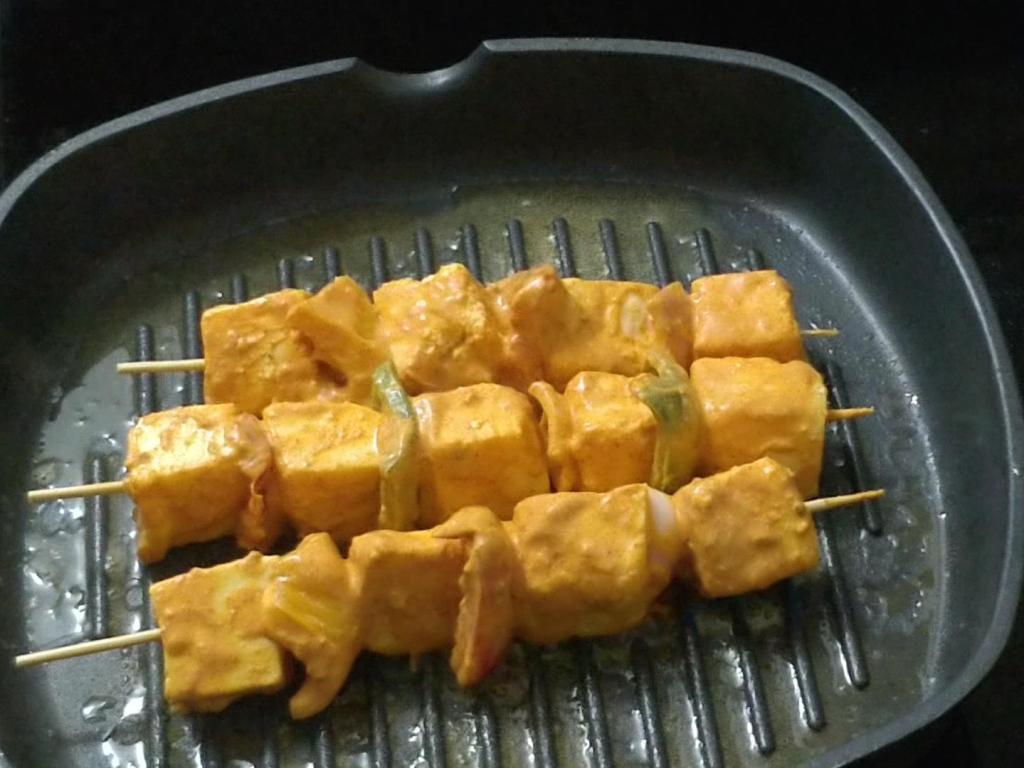
Heat a tawa or a grill pan. Grease the grill pan with oil, add in a blob of butter and then place the skewers on it. The heat should be moderate throughout the cooking process.
marinated veggies on skewers
Place the skewers on THE PAN. turn the skewers every 5mins or so and they will be done once you don’t see any raw marinade on them. There should be chars to lend that smokiness on the sides. Your dry paneer tikkas are ready. Trust me, they are even better and more flavourful than the ones we eat at restaurants. And the perk is that you can customize the ingredients to suit your palate. Crisp and spicy on the outside and soft and fluffy on the inside.
Place the skewers on your serving platter. Sprinkle some minced cilantro and chat masala and squeeze lime just before serving or prepare lacha pyaaz just the way I did here.
skewered paneer on tawa paneer tikka
For the lacha pyaaz, thinly slice onions, throw in some cilantro and mint leaves, add a dash of salt, chat masala and squeeze a lemon over it and mix well.
Thanks for stopping by!! If you like my work, then do hit the subscribe button to get notified on new videos and share the blog with your loved ones.
Come and say Hello on our other social media accounts..Our blog,Twitter, FaceBook, Pinterest and Instagram. And do give me a feedback on how the recipe turned out for you. Happy cooking.
Marzipan is a confection consisting primarily of sugar or honey and almond meal, sometimes augmented with almond oil or extract. It is often made into sweets; common uses are chocolate-covered marzipan and small marzipan imitations of fruits and vegetables.
Marzipan’s are often eaten on its own or can be used to frost cakes and all sort of goodies. It can also be colored and used to cover any cake. As it tastes better than a fondant and helps to keep the cake moist its preferred over fondants. These will stay good covered at room temperature for around a week to 10 days depending on the weather.
If you’re looking for an authentic homemade marzipan recipe that tastes phenomenal and is easy to make and much cheaper than the store-bought ones, you’ve come to the right place.
It can also be moulded into the shape of animals, fruits, vegetables, and so on, to make very cute flavored goodies. This simple, easy and effortless recipe for homemade marzipan takes just 8 mins and needs no special skills or equipment.Having learnt about marzipan in detail, aren’t you all excited to learn how to go about with the whole process and prepare them on your own? Sooo,Lets get cooking.
Course : Candy, condiment, Dessert
Cuisine: German, Italian
Prep Time : 3 minutes
Cooking time : 5 minutes
Total Time : 8 minutes
Shelf life : At room temperature -for a week to 10 days
in the refrigerator – at least a month
in the freezer- up to 6 months.
Bring to room temperature before using in any recipe.
Ingredients
100 gms of cashewseeds
150gms of icing sugar
Few edible food colours for dyeing..(liquid/gel)
Half egg white.
A tsp of Rose water
Procedure:
Here, I am making use of cashews in place of almonds. While using almonds, you got to blanch them first and then de-skin them whereas when you make use of cashews you can blanch them, drain and straightaway pulse them in a blender. For blanching, immerse the nuts in boiling water for a few minutes and drain onto an absorbent paper or a kitchen towel. Here I have blanched the cashews, drained them and then pulsed them. You can also get the store bought flour,which is quicker and more convenient and will yield a more consistent product.
The pulsed cashews are now transferred to a non-stick pan or a thick bottomed kadhai.
Marzipan needs a binding agent to hold the ingredients together which can be a few tbspns corn syrup, egg white or lemon juice. Here I have added a little egg white which is the traditional binding agent for marzipans. For food safety reasons, egg whites are not advisable if you are doing the uncooked version, but here since cooking is involved that aspect can be safely ruled out. For the vegan version, you can avoid egg whites and add a tsp of lemon juice or corn syrup. You can also susbstitute sugar with honey .
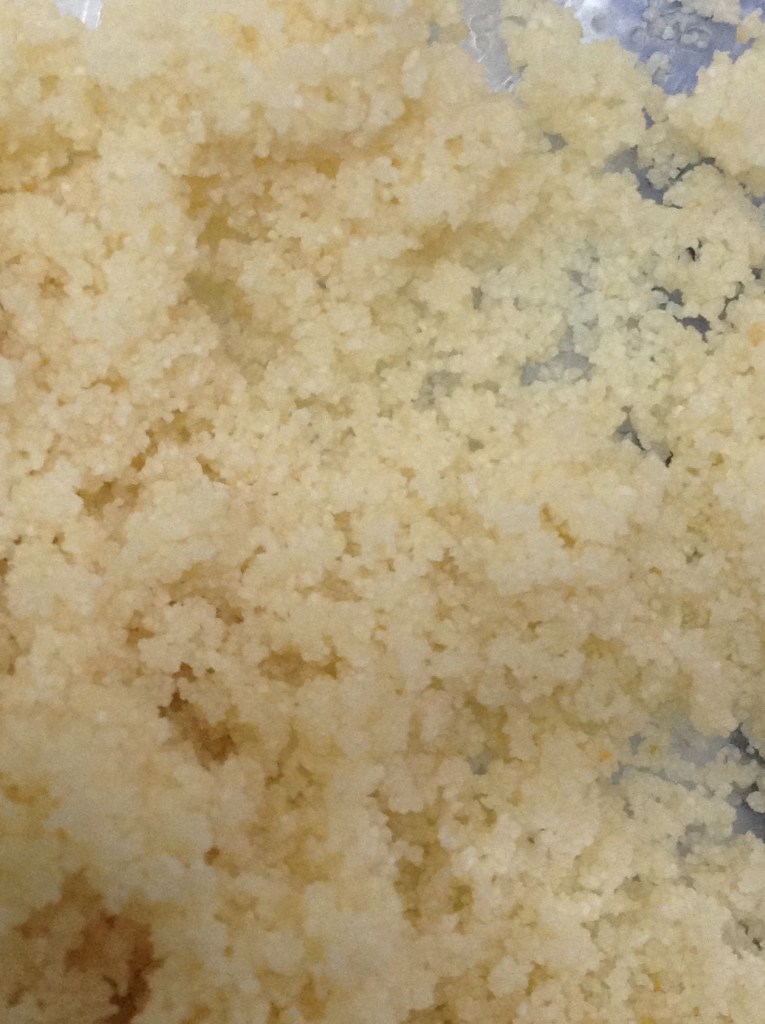
cashew paste marzipan mix before heating dough of marzipan
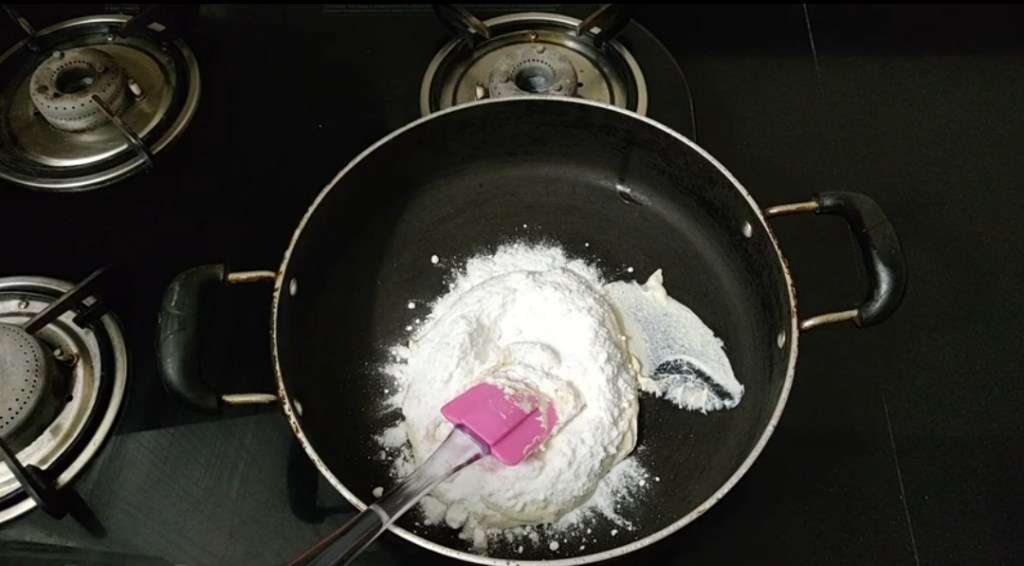
Add powdered sugar, rose water and the egg whites. Use rose water for a positively delightful flavor.
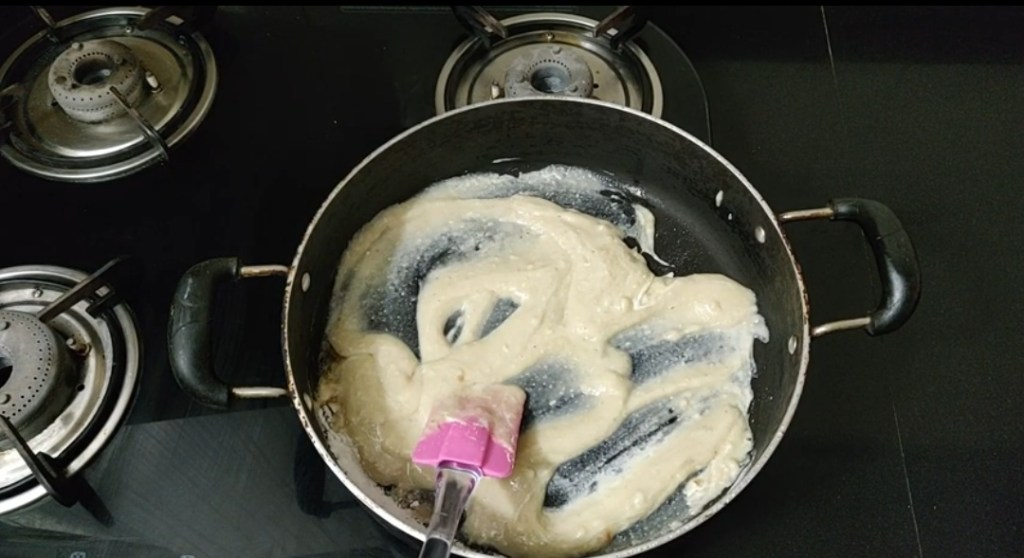
Keep stirring the mix using a spatula till it gets completely dry and attains a dough consistency and starts leaving the sides of the pan. It hardly takes five minutes for the mixture to get dry. If the mass is still too wet and sticky, add more powdered sugar and ground almonds/cashews, whichever the case may be.
Once that consistency is attained,switch off the heat and transfer the dough onto a greased plate.
log of marzipan ready to be colored
Once it attains room temperature, turn the dough out onto a work surface and knead it a few times till it comes together to form a nice dough.
Form it into a log, then as per the number of colors you want to dye them with, make balls and add colours to the respective dough balls .
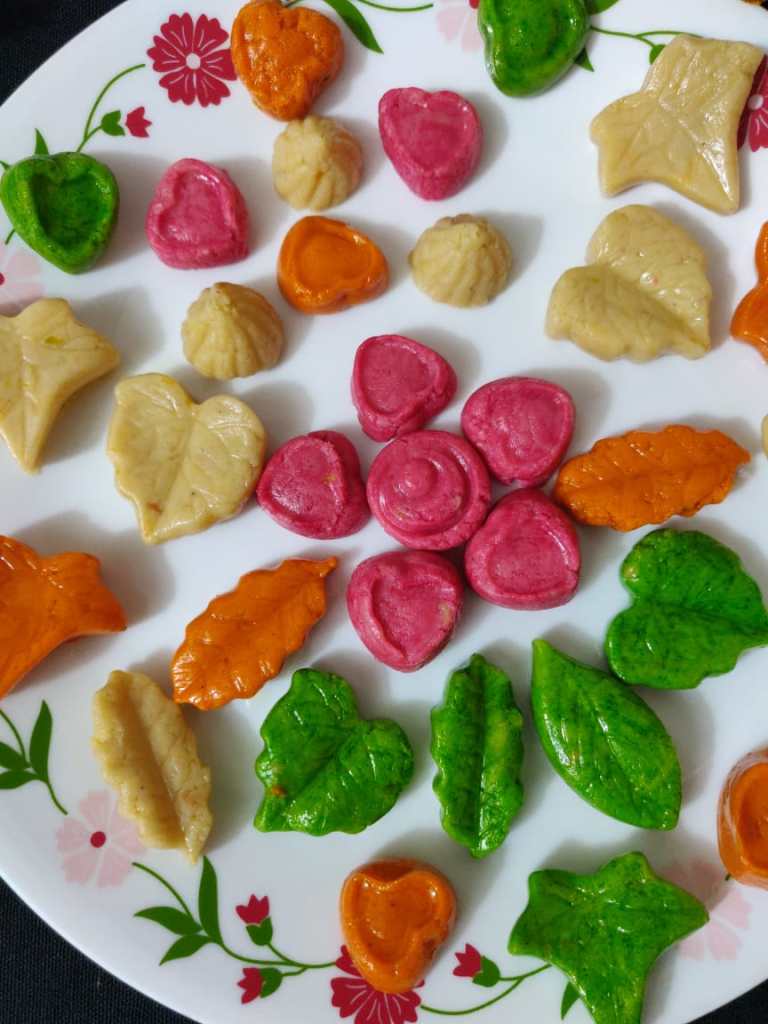
knead them well to incorporate the colors and later, press down the mould. You don’t have to wait for unmoulding. It can be unmoulded almost instantly as they acquire the shape in the mould.
Let them air dry for a few minutes and later you can store them. Will keep for at least a month in the refrigerator or up to 6 months in the freezer. Bring to room temperature before using in any recipe or enjoy them as they are.
Marzipans all colored
Tips :
Its always better to buy the cashew/almond powder available at stores, since pulsing the cashews/almonds at home tends to get soggy releasing the nut oil .
To store your marzipan, cover it tightly in plastic wrap, then seal it in a plastic bag. Not only will your marzipan stay moist, but it also won’t absorb any unfortunate odors or tastes.
Nutritional facts :
Per Serving: 143 calories; 7.2 g fat; 17.8 g carbohydrates; 3.5 g protein; 0 mg cholesterol; 80 mg sodium.
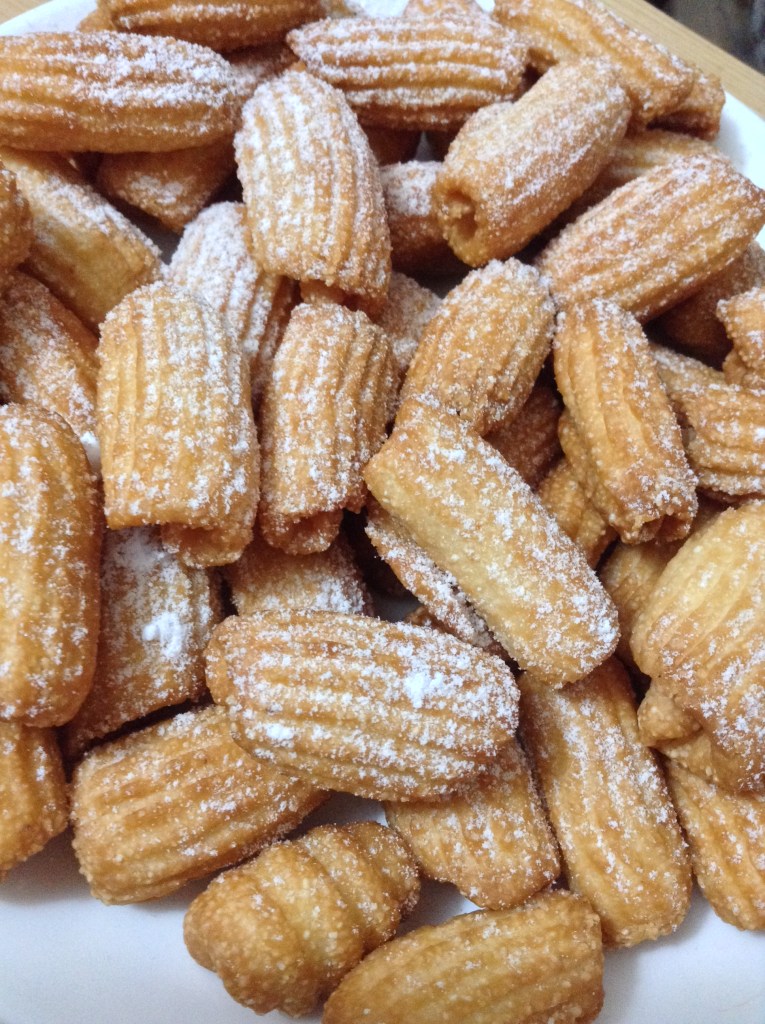
Kulkuls are especially popular during X’mas time. Kulkul is a traditional Goan sweet made during Christmas without which Christmas is incomplete. Its a tea-time snack recipe that you can make for your family and munch on it with a hot cup of tea. It forms a part of the goodies prepared for the Christmas festival celebrated in Goa and in and around the city of Mangalore, in the South West coast of India.Traditionally the Christmas goodies, called kuswar is specially prepared by the Catholics in Goa and are distributed to neighbors, friends and relatives during Christmas.It is a deep fried sweet recipe made of maida/All purpose flour,sugar,eggs,semolina and coconut milk.
watch : Christmas special Kulkuls
Cooks in 10 mins
Prep in 10 mins
Total in 20 mins
Cuisine : Indian/AngloIndian
Course : Snack
Shelf life : 10 weeks
Ingredients :
2 cups all purpose flour
¼ cup semolina
Clarified butter : 4 tbsp
2 pinches salt
2 tablespoon powdered sugar
2 cups refined oil
1/4 cup coconut milk
How to make kulkuls :
step 1
Take a bowl and add semolina and clarified butter/ghee in it. Mix it well till all the clarified butter gets incorporated in the semolina. Keep it aside covered for some time so that the semolina blooms up.
Bloomed semolina
step 2
Add all purpose flour, salt and powdered sugar, coconut milk, salt, egg white,vanilla essence once the semolina has fully puffed up absorbing the ghee.
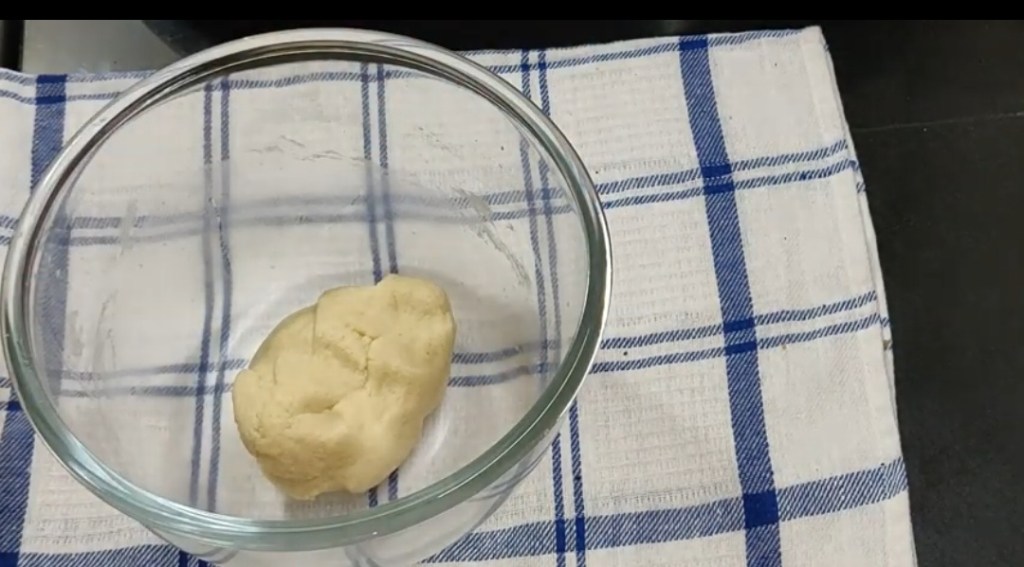
Knead this into a smooth dough.
smooth dough ball
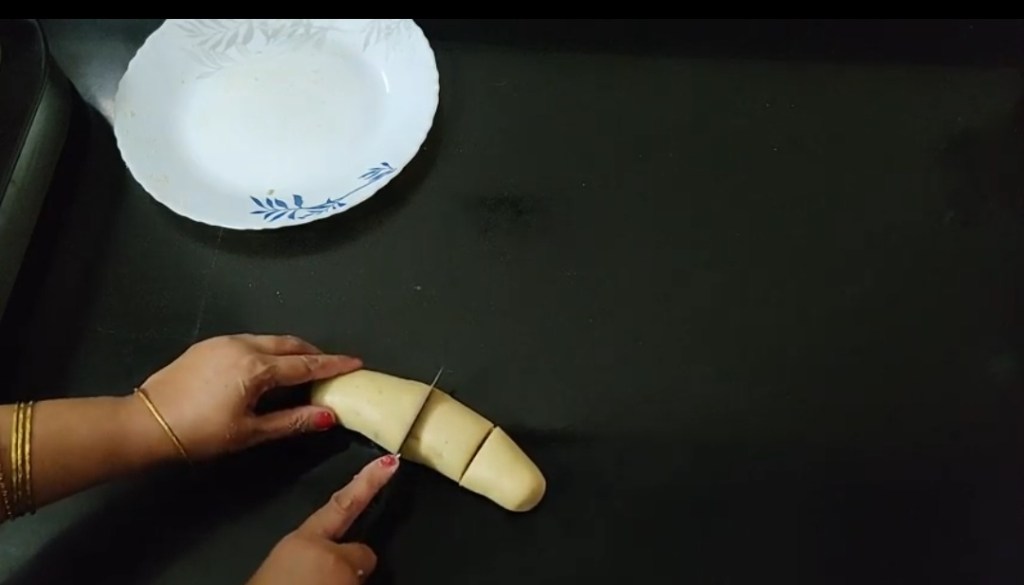
step 3
Make logs out of a handful of this dough and cut them to small pieces. To prevent the balls from loosing moisture, cover them with a damp muslin cloth
step 4
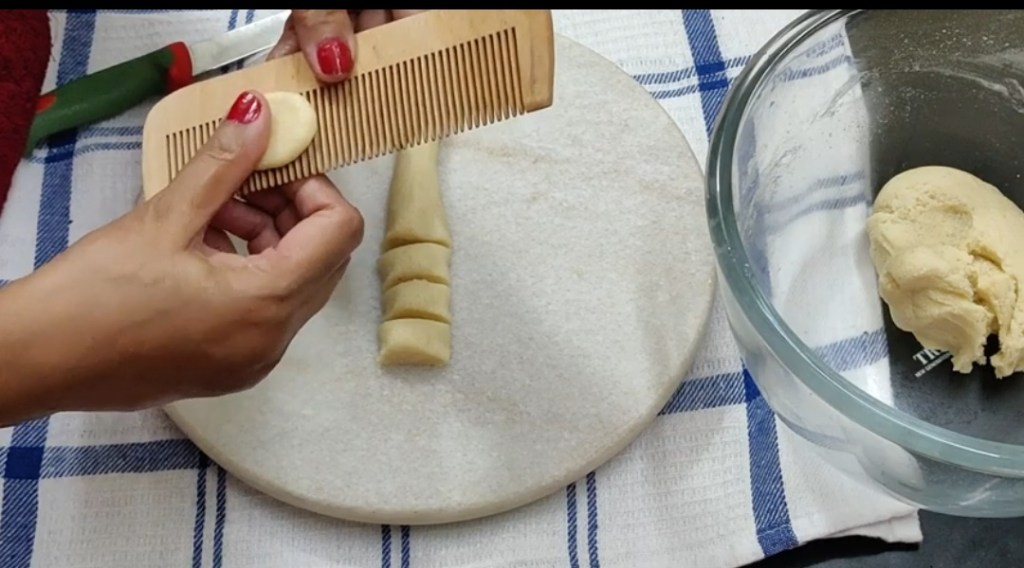
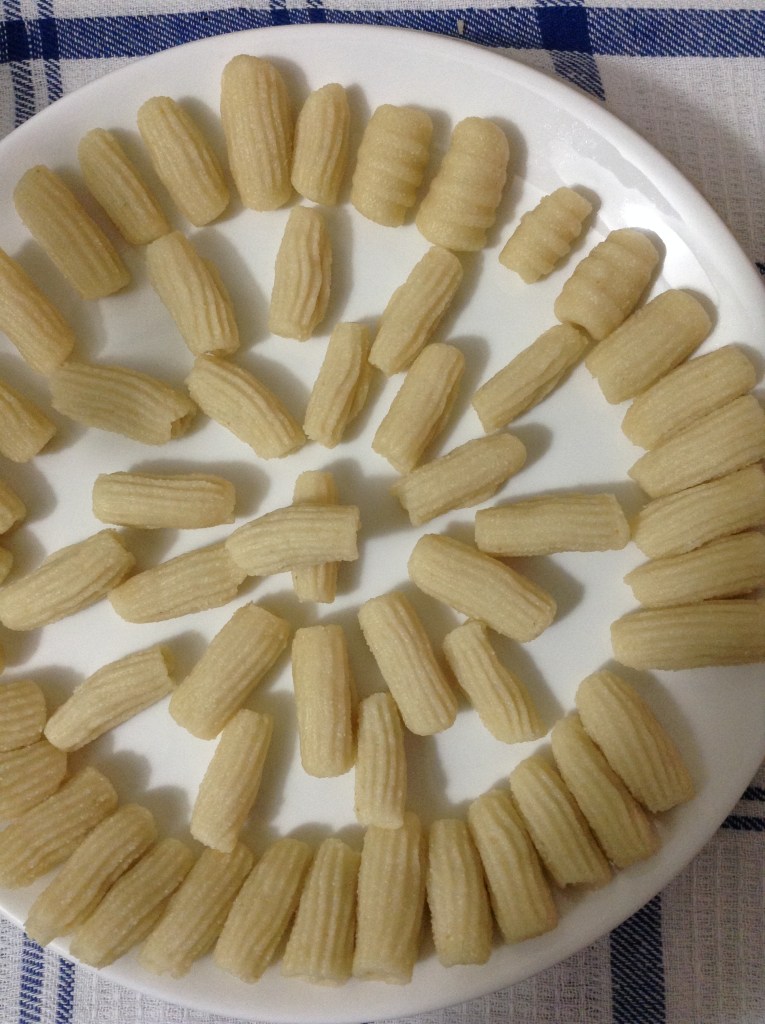
Now using a greased fork or a clean comb, gently press the balls into a circle form and then roll it into a curl shape.
curls on comb
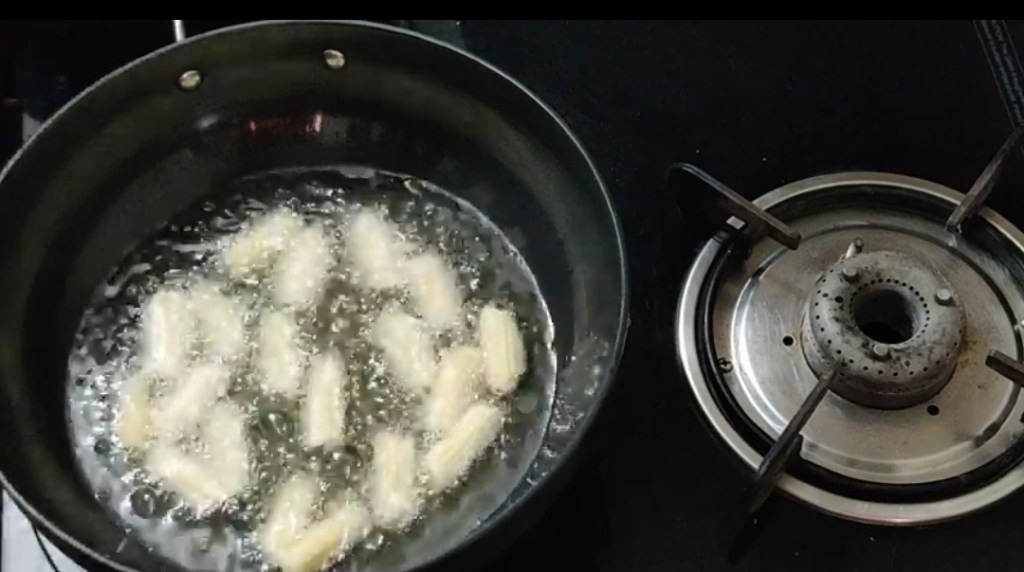
step 5
Once done take a deep bottomed pan, keep it on medium flame and heat refined oil in it. Deep fry the curls in it until golden brown in color. Transfer them on a absorbing paper. Once it attains room temperature, store them in an airtight container.